



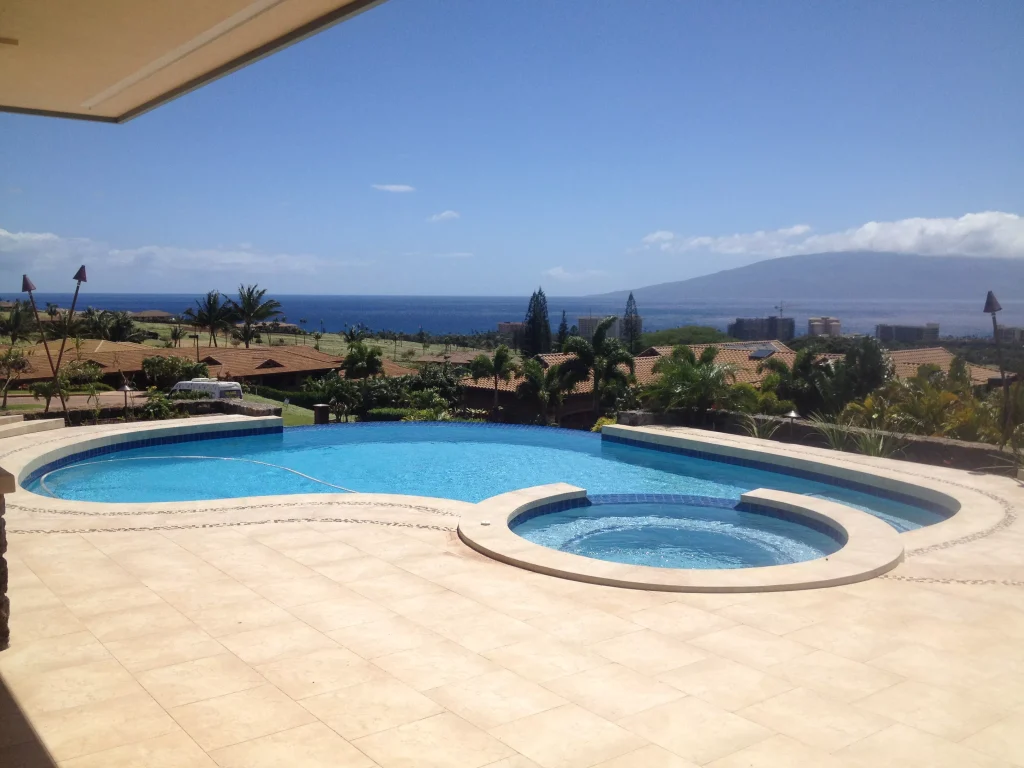
Maui’s pools face unique challenges. Strong sunlight, salt-tinged air near the coast, trade winds carrying fine debris, and fluctuating water chemistry all accelerate plaster deterioration. Over time, even a well-maintained concrete or gunite pool develops rough patches, stains, and cracks that no amount of brushing or chemical adjustment can fully reverse. When those issues appear, pool replastering becomes the most effective way to restore a smooth, attractive, and watertight surface.
This guide explains the clearest signs that replastering is needed and walks through every major step of the process, so Maui homeowners know exactly what to expect.
Why Maui Pools Need Replastering Sooner
Standard white plaster typically lasts 7–12 years under average conditions. In Maui the combination of intense UV exposure, higher evaporation rates, and occasional salt-air corrosion can shorten that window. Vacation rentals and second homes that sit unused for stretches also see faster surface wear because water chemistry drifts without regular attention. Recognizing the early warning signs prevents minor surface problems from turning into costly structural repairs.
Clear Signs It’s Time for Pool Replastering
Watch for these common indicators. Any one of them is reason to schedule a professional pool assessment; several together usually mean the surface has reached the end of its useful life.
1. Rough or sandpaper texture
Smooth plaster becomes abrasive underfoot. Swimmers notice it immediately, and the roughness traps dirt and algae.
2. Persistent stains and discoloration
Metal stains, calcium scaling, or mottled color that resist acid washing or specialty stain removers often signal that the plaster itself has become porous.
3. Cracks, hollow spots, or delamination
Fine spider cracks may be cosmetic at first, but hollow-sounding areas or peeling plaster mean the finish is separating from the shell. Water can then reach the underlying concrete and cause larger problems.
4. Difficulty maintaining water balance
When plaster is worn, it absorbs more chemicals and releases calcium and other minerals. You may find yourself adding acid or alkalinity increaser far more often than before.
5. Visible etching or pitting
Soft plaster dissolves under low-pH conditions, leaving a pitted surface that feels uneven and looks dull.
6. Increased algae growth
Rough or porous plaster provides ideal footholds for algae, especially in Maui’s warm climate.
If you notice these symptoms, avoid temporary fixes such as painting over the surface. Paint and thin coatings rarely last and can complicate proper pool surface restoration later. Instead, contact a qualified Maui pool renovation specialist for an on-site evaluation.
What a Professional Pool Assessment Covers
A thorough assessment goes beyond a quick visual check. The specialist examines:
- Overall condition of the existing plaster and any previous patches
- Structural integrity of the shell, looking for movement or major cracks
- Condition of tile, coping, and waterline
- Plumbing penetrations, lights, and fittings that will need protection or replacement during the job
- Current water chemistry history and equipment performance
This evaluation determines whether simple replastering is sufficient or whether additional repairs (crack injection, tile work, or equipment upgrades) should be performed while the pool is empty. Accurate diagnosis saves time and money and ensures the new finish performs as expected.
The Pool Replastering Process Step by Step
Replastering is a multi-day project that requires careful sequencing. Here is what typically happens once you approve the work.
1. Site preparation and draining
Equipment is turned off and the pool is pumped dry. Local regulations for water disposal are followed. In Maui, crews often schedule this step during drier periods to minimize weather delays.
2. Relieving hydrostatic pressure
Groundwater can push an empty pool shell upward and crack it. Specialists’ open hydrostatic relief plugs or drills temporary relief holes and may place a sump pump in the deep end. This critical safety step protects the structure throughout the project.
3. Surface preparation
Loose and delaminated plaster are chipped away, especially around fittings, steps, and the waterline. The remaining surface is thoroughly cleaned. An acid washing step etches the old plaster so the new material can bond properly. A bond coat is then applied as a primer.
4. Addressing repairs
Any cracks in the shell are injected or patched. Damaged tile or coping can be replaced at this stage while access is easy. Fittings are inspected and protected.
5. Applying the new plaster
Fresh plaster traditional white, colored, quartz-aggregate, or pebble is mixed on site and troweled onto the prepared surface in a continuous process. Experienced crews work quickly and evenly to avoid cold joints. The choice of finish affects both appearance and longevity; many Maui homeowners now prefer quartz or pebble options for greater resistance to etching and staining.
6. Curing and filling
Once the plaster sets, the pool is filled with water as soon as practical. Filling usually takes 18–36 hours depending on size and water source. The new surface remains soft for several days, so care is required.
7. Startup and water chemistry management
The first 28 days are critical. Daily brushing removes plaster dust, and water chemistry is tested and adjusted frequently. Proper startup prevents staining, scaling, and premature wear. Most Maui pool renovation specialists provide detailed startup instructions or offer a supervised startup service.
From drain to swim-ready, a typical residential project lasts 5–14 days, weather and scope permitting. Maui’s climate can accelerate drying, but strong sun also requires careful timing so the new plaster does not cure too quickly.
Choosing Materials for Maui Conditions
Basic white plaster remains the most economical choice. Colored plaster adds visual interest. Quartz and pebble aggregates cost more upfront yet deliver longer service life often 15–25 years and better resistance to the chemical and UV stresses common in Hawaii. A knowledgeable specialist can recommend the best match for your pool’s exposure, usage pattern, and budget.
Aftercare and Long-Term Protection
Once the new surface is fully cured, consistent maintenance becomes the best insurance. Keep pH, alkalinity, and calcium hardness within recommended ranges. Brush regularly, clean the filter, and address any small stains promptly. Annual or semi-annual professional inspections help catch minor issues before they spread.
Why Experience Matters
Pool replastering is both an art and a technical craft. Incomplete surface preparation, incorrect bond-coat application, or rushed startup chemistry can cause the new finish to fail within a few years. Working with an established Maui pool renovation specialist who understands local conditions, proper hydrostatic relief, and the demands of island climate reduces that risk significantly. Look for crews that provide clear written scopes, material specifications, and realistic timelines.
Final Thoughts
Recognizing the signs of plaster deterioration early and understanding the full replastering process empowers Maui pool owners to act before small problems become expensive ones. From the first professional pool assessment through careful surface preparation, material application, and disciplined startup, each step contributes to a durable, attractive finish that stands up to Hawaii’s environment.
When your pool begins to feel rough, look stained, or demand constant chemical attention, it is time to explore pool surface restoration. A well-executed replastering project returns the pleasure of a smooth, inviting swimming surface and protects the structural investment underneath for many years of enjoyment under the Maui sun.